Showing posts sorted by relevance for query "strip tease". Sort by date Show all posts

Sunday, November 21, 2010

Strip Tease Tutorial

STRIP TEASE TUTORIAL 
You will need:
36 jelly roll strips that are medium or dark in value. I used 2.5” strips that a friend cut from her stash so my quilt is scrappy, not from one line of fabric.

36 light jelly roll strips. You can use from different fabrics in your stash; however, I used the same fabric throughout. If you use one fabric, you will need 2-3/4 yards of fabric to cut your strips.

9.5” or larger square up ruler. I’m using Omnigrid but any brand will work as long as there is a diagonal line running from one corner to the other in at least one direction.

Step 1:  Sew your strip set together as shown in the photo with an accurate ¼” seam (really important.) You should have 12 strip sets in each arrangement for a total of 24 strip sets. Press seams toward medium/dark prints.

Step 2:  Take one of each type of strip set (like the two shown in step 1) and place right side together. If you have sewn accurate ¼” seams, the seams should lock in place with the outside edges of the strips meeting. Sew ¼” seam (keep it straight as you’ll be using this line later) on both long sides of the strips, making a tube.

Step 3: Using the photo as a reference, line your strip up as shown (I’ve cropped the strip so you can see better) with the diagonal line along the seam line (look up at the top). Trim this edge with your LEFT hand. Yes, I can here you…you need to learn to use your least dominate hand some times. Just try it.


Just showing the edge trimmed. Put the trimmed edge in a pile. It will be used later, but not right now.

Step 4: Slide the ruler to the left until the end that is closest to you is abutted next to the seam line. The edge of the ruler should stop right at the stitched line, NOT at the tip. In addition, the diagonal line is still on the sewn line at the top of this photo. (Sorry that I didn’t use contrasting thread so you could see the sewing line better.) Your ruler should be aligned exactly as shown in the photo, if not, do not cut. Adjust your ruler and then cut along the edge of your ruler. These are your blocks. Do not open them just yet, continue cutting.

Step 5: Pull the ruler down to the bottom and align the ruler as indicated above. Continue cutting across the width of the strip. Because of the variety of strip lengths, you may get 5 or 6 units from each strip set.

Step 6: I like to trim my triangle points while the block is flat. That way I only need to make one cut per corner instead of two. Align your ruler to stop at the stitching, keeping a line on the ruler parallel to the edge of the triangle. Trim the top. Repeat for all triangles.

Close up of the trimmed edge with ruler moved down slightly so you can see the technique.

Step 7: Press your seams open. (Please ignore the dog ear on this block; of course I got in a hurry trying to sew and take pictures.) I like to press seams open to reduce bulk as 8 fabrics will be meeting in the center point.

Step 8: Layout time! You need to decide what size quilt you will make. I recommend 12, 15 or 16 block layouts. Here are some possibilities with blocks laid out from 4 strip sets.

This layout uses 4 blocks from the same strip set. Notice that the Medium/dark prints creates a large diamond with opposite fabrics facing. Since you started with 12 sets of strips, the maximum number of Great Blocks you could make would be 12.

Here is a close up of just one block so you can get the idea.

This layout is very similar to the one above but it is a little different. Notice that in each Great Block the large diamond is now made with your light background fabric and that the 4 fabrics in the small diamond matches. Again, since you started with 12 sets of strips, the maximum number of Great Blocks you could make would be 12.
This is a scrappy layout where none of the fabrics in the Great block match. This is the layout that I chose. With this layout, you can opt to make a quilt with 15 or 16 blocks. But wait, I have another layout choice for you to ponder.

This zigzag layout is also very effective. It is laid out in scrap layout without any like fabrics touching. Your layout will be more varied when you use all the blocks (remember I only used blocks from 4 strip sets here.)

After you decide upon your chosen layout, lay out all your blocks, making sure of your arrangement. Now is the time to balance your fabrics in the layout.

Step 9: I recommend working on one Great Block at a time or marking your entire row with masking or painter’s tape. Use masking tape if you will be sewing your blocks right away; otherwise, use painter's tape.

I made my Great Blocks one at a time and returned it to the design wall after sewing. To make the Great Block, sew top two sections together and sew bottom two sections together. Press seams open.

Step 10: Sew the center seam to complete the Great Block. Press seam open. Repeat for all your Great Blocks.

Sew your Great Blocks into rows. Photo shows two rows of blocks sewn together.

Continue sewing the rows into a completed quilt top.

But what about the scraps I have leftover?
Now that the quilt top is completed, you have a lot of leftover units from the edges of the strips. They will look something like this depending upon if you consistently place the strips in the same position when you cut (light strips on outside on top OR dark strips on outside on top.) Press open the seams of all units.

I found a few layout possibilities with the remaining pieces. I laid them all out before sewing so I had a plan. Here are a few of the arrangements. There are subtle differences in each one.

Sew the blocks together, ignoring the outside edges as they will not match.

After you have sewn the blocks together, trim them to the largest size blocks you can, trimming off the selvages. Each block will be a different size.

Here is a photo of all blocks made from leftovers. I plan to use this in a scrap quilt with odd ball size blocks. However, you can use the blocks with additional fabric/s to make a back or in any other project, like totes, mug/table mats, etc. The goal here was to sew the leftover units into blocks.

This was a project for my scrap quilting club.  To see more variations, view these posts.  You will have to scroll down as different participants brought various tops to the meetings for show-n-tell.

-------------------------- Type-u-later, http://www.teaquilts.com

Monday, July 12, 2010

Design Wall Monday

I had a very busy week.  I started with hemming my daughter's dress for my step-daughter's wedding.  I had to work with 3 layers and it took two evenings to make the alterations.  I also put the binding on my 4-stacked posey quilt but have not made the label or hand sewn it to the back yet.

What I did work on was my Strip Tease quilt top which is this month's project that's assigned to my scrap quilting club that meets the 4th Saturday of the month.  I'm trying to decide if I want to float this with the white fabric since all the edges are bias.  I think maybe a 2" border wouldn't take away from the design.

The following blocks are what I made from the strip ends when cutting my blocks for Strip Tease.  They are various sizes.  I decided not to square them all to the same size.  I think I may have a massive long term project in mind for these blocks and many others that I have in my collection.  I might throw in a few UFOs into this project as well.

Now, because I was a good girl and altered the dress mentioned above, I rewarded myself and started another project.  The Instant Karma pattern was perfect for a great niece who wanted an orange, pink, and purple quilt.  Huh...LOL  I've been trying to figure out since March how to make that happen.  I saw this pattern and decided it would work with her color choices if I used orange and pink as one color group instead of two.  The binding will be purple to finish off that color as an accent.  This quilt was fast to make so join me in making one and let me know about it.  Stop by Lyn's site to see hers that's made in black background with orange accent.

This is the charity top, backing and binding that I talked about last week on DWM.  It's now ready for me to pass to my quilt buddy to quilt and bind.  The Stash Buster pattern is available online for free.
To view more design walls, go here.
--------------------------
Type-u-later,
Tea in MO
http://www.teaquilts.com

Sunday, October 24, 2010

Scrap Quilting Club

The scrap quilting club met yesterday so I have a few pictures to show.  This month we made string or crumb quilts and it was time for the big reveal.  No specific pattern was distributed as I wanted each person to create their own setting with the blocks.  Here is a look at the tops we saw yesterday.  I'm sure more will come in next month.  First up is my quilt that will be an addition to my Just Strings Series, Drunkard's Path.  The blocks are 7" finished for a 56" square top.

 Next up is Laura with her string blocks she worked on in class.  She got her blocks completed, sliced them and sewed them back together.  We'll show her completed project next month.
 Kathleen is using her string panel as a border that she will slice and dice.  It will be added to a previous quilt top that we made.  NOTE:  For some unknown blogger blooper, some of the photos that I've rotated will not stay upright when uploaded to blogger.  Please excuse the side ways photos - it's out of my control.
 Kathleen also made this African inspired crumb top.
 Sharon was busy sewing additional crumb blocks in pinks.  She added a few colors here and there as zingers.  It's looking really good.
 Norma used 30's fabrics with a friendship star setting.  It's gorgeous!
 Wanetha's blocks are 6" crumb blocks set on point.  She did a lot of blocks and used a lot of crumbs.  She says she didn't put a dent in the pile.  The border fabric really suits the scraps.
 LeeEtta's quilt is made with the black center sashing in all sizes with odd ball size strips on each side.  The pink and black combination was great.
 Then we had a few more quilts/tops from some of our past sessions ready for viewing.  Judy showed her Strip Tease.  It looks really good with a medium beige instead of white or light beige background.
 Kathleen used green and blue prints in the center strips only and her quilt is really unique.
 Carol is putting together her Split Rail Fence blocks.  She got the top made in class but I'll show that next month.
 Here is Karen's Split Rail Fence top. 
 Karen also has her Strip Tease in which she used a white and black sashing fabric.  It look really good and contrasts perfectly with the jewel tones.
That's it for this month.  Come back next month to see our African Inspired quilt tops.
--------------------------
Type-u-later,

http://www.teaquilts.com
Sunday, August 29, 2010

Scrap Quilting Club

We had a great time at scrap quilting club yesterday!  I got to meet Dorothy and her daughter Tristen (not sure about spelling).  Dorothy and I have been e-mail for a little while and talked on the telephone twice.  Our schedules had not allowed us to get together until Saturday.  She and I live just a few miles of each other.

We had  a lot of show and tell this month.  I'll group them in like quilt categories so you can see the difference fabric choice can make.  If you want to see more variations, search my blog for the pattern names.  You will find links (if available) of the quilts.  Most of them are free patterns available on the web and the links have been posted in previous posts.  Also, you can click any picture to get a bigger photo for a better look; click again and you get a full size photo.  Enjoy!

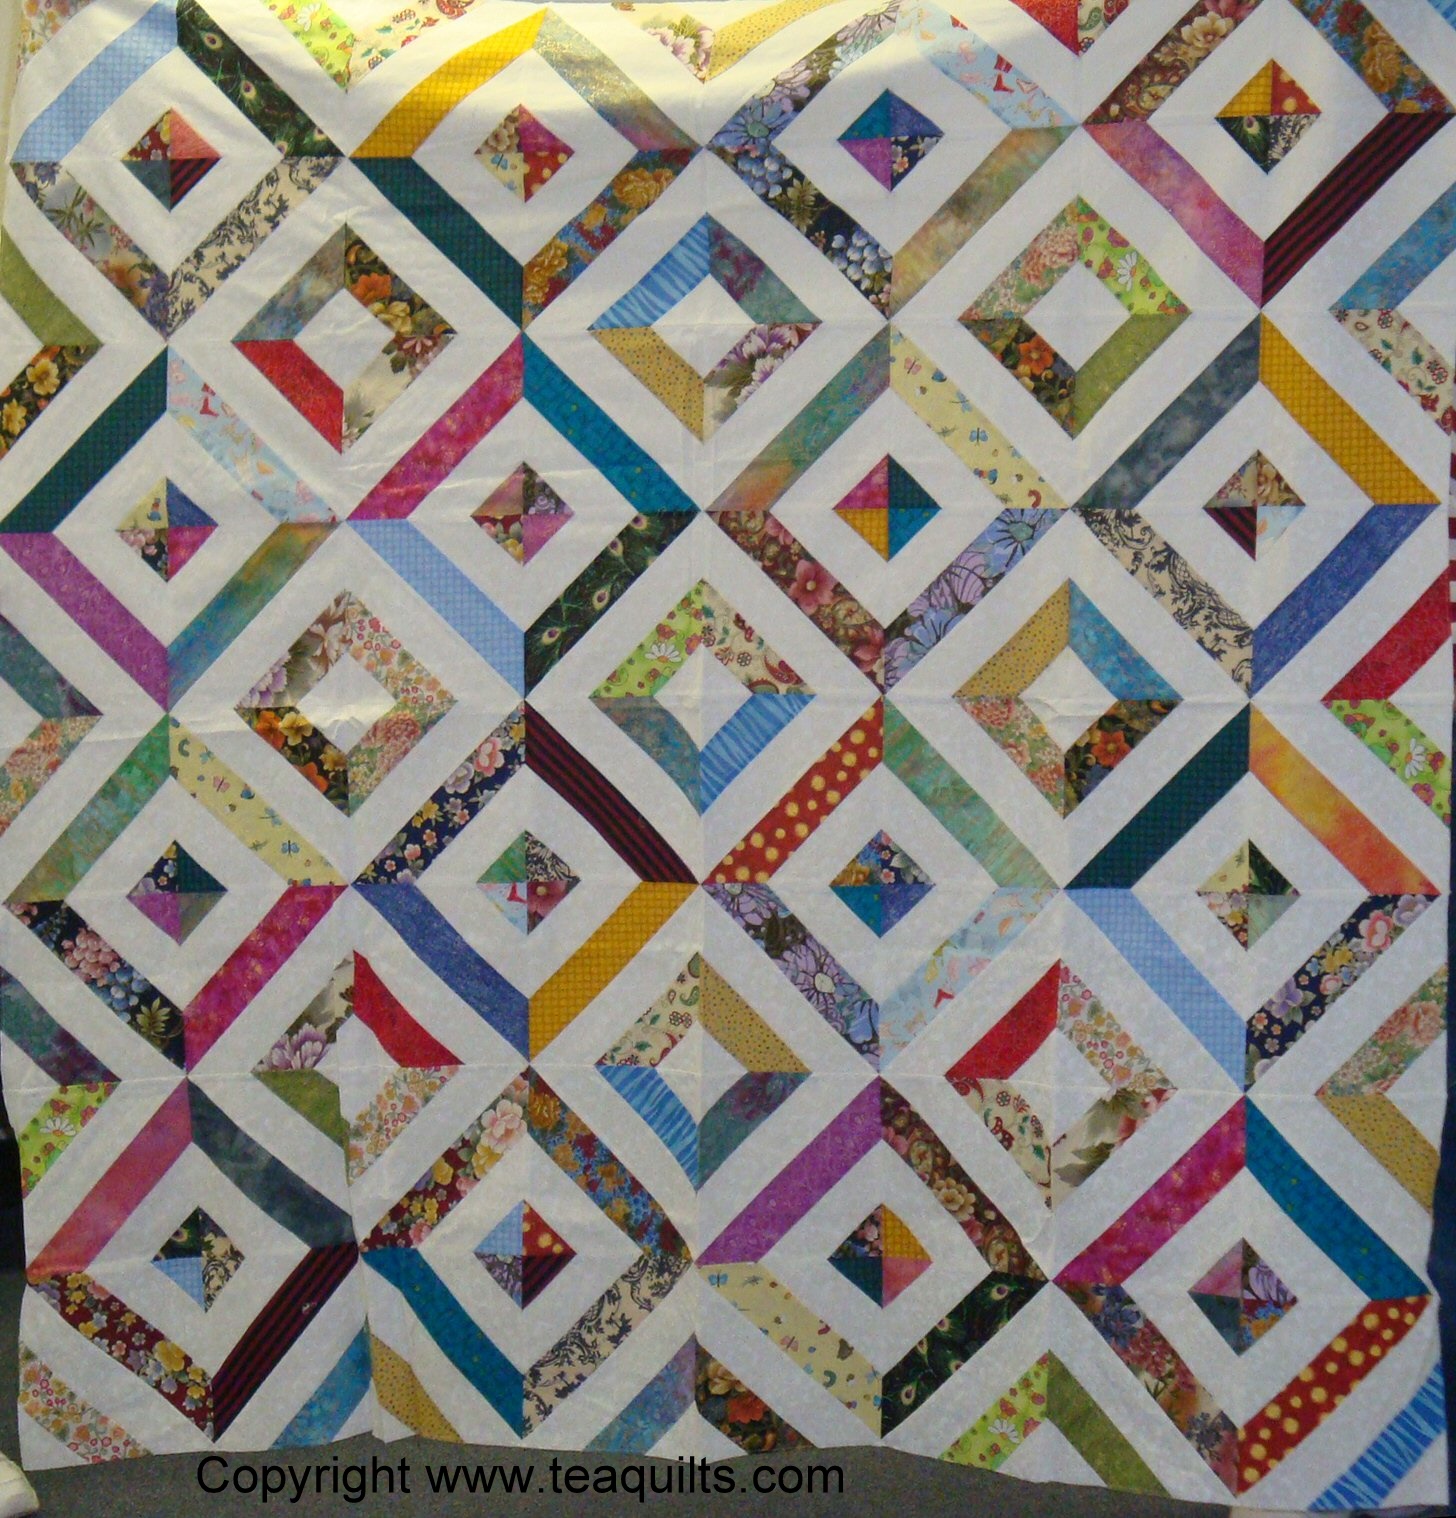
1st up is Strip Tease.  Amazing how they look so different.  And how about that miniature quilt made with 1" strips finishing at 1/2".


Next up are a couple of Staycation quilts.  There are other quilts on my blog and more to come.


This was our first project and quilts are still coming in for show and tell.  There are other quilts on my blog.


Ta-da!  More work is being done on the Cathedral Stars tops.  One almost done and another participant just started 4-patches.  There are two other quilts on my blog.


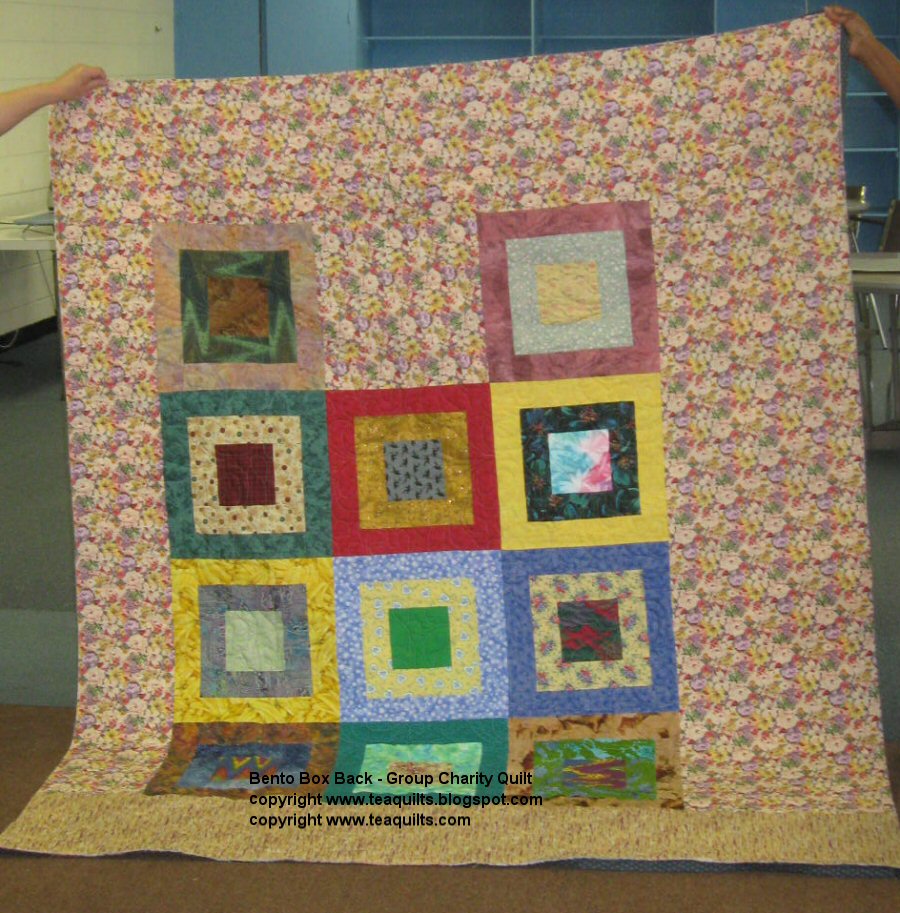
And finally, here is an updated photo of the Bento Box quilt we are making to donate to the church where we meet.  They are having an auction in October.  We just need to get the binding sewed to the back side.  I've also included a picture of the back which was started with the leftover blocks.  There are more of these quilts on my blog.


Thanks for viewing the show and come back next month for more quilts.
--------------------------
Type-u-later,
Tea in MO
http://www.teaquilts.com