Sunday, November 25, 2012

Finishes in time for Christmas gifts

I've been getting a few small items started and completed.  Christmas gifts has definitely motivated me.  First up is the witch silhoutte.  Looking at it now, I should have trimmed a little off the right side.  I completely forgot. :(  This one is for my daughter.

Then I finished the Cinnamon Spice table runner for my mom.  I started this one at the Missouri State Quilter's Guild retreat in October. I thought I had it quilted but found it in the pile last week so I finished it too.

Then while browsing google reader, I found this cut pattern for a little tree quilt and thought it would be a great gift for someone too. I had the scrap club work on it yesterday.  It was so much fun and very quick to make.  I'm calling mine Tipsy Trees. Thanks Drew for the quilting idea.  You can make one too by going to  http://jaceycraft.blogspot.com/2012/11/hcb-happy-trees-mini-quilt.html

-------------------------- Type-u-later, http://www.teaquilts.com

Scrap Quilting Club

Yesterday was the last scrap quilting club meeting for the year.  This marks the end of the third year.  I've really enjoyed this group as everyone is so helpful, happy to be in attendance, and just a plain joy to know.  We had a true potluck lunch and everything was just wonderful. I don't recall my stomach growling all of yesterday after this meal.  All scrap club members who has paid for the entire year but not at the meeting yesterday, please see me to get your door prizes because you were all winners yesterday.  I will bring the prizes to FVQG's meeting in December.  If I don't see you in December, I'll bring them to next year's meeting. Big THANK YOU to the group for the Jackman's gift card I received yesterday. I really appreciate it and all you do all year to help the club run smoothly.


We had a few show and tell projects, some scrap club related, other not.

Link for Flying in Squares (note that I planned the blocks for an on point setting, creating the side and corner triangles) http://www.modabakeshop.com/2011/12/flying-in-squares-quilt.html - we used this pattern as our year long project.


 Link for little trees: http://jaceycraft.blogspot.com/2012/11/hcb-happy-trees-mini-quilt.html


 Link for Mon Sheri Waves www.robertkaufman.com/assets/pdf/mon_sheri_waves_tutorial_final.pdf


-------------------------- Type-u-later, http://www.teaquilts.com

Monday, November 19, 2012

Design Wall Monday

On my design wall today I have finished 15 Mountain Top blocks; need to trim them up and on Saturday, I started my last Halloween quilt for the year. Hopefully I can get the binding on the Halloween quilt then I can put it and the others in my previous post in storage until next year.

To see more design walls, go to www.patchworktimes.com.


-------------------------- Type-u-later, http://www.teaquilts.com

Sunday, November 18, 2012

Halloween Quilts Done

I'm not late, I'm early for next year. LOL  I finished the If the Hat Fits quilts as well as another I started on Wednesday called Spooky Silhouette.


-------------------------- Type-u-later, http://www.teaquilts.com

Sunday, November 4, 2012

Lazy Angle Ruler Project

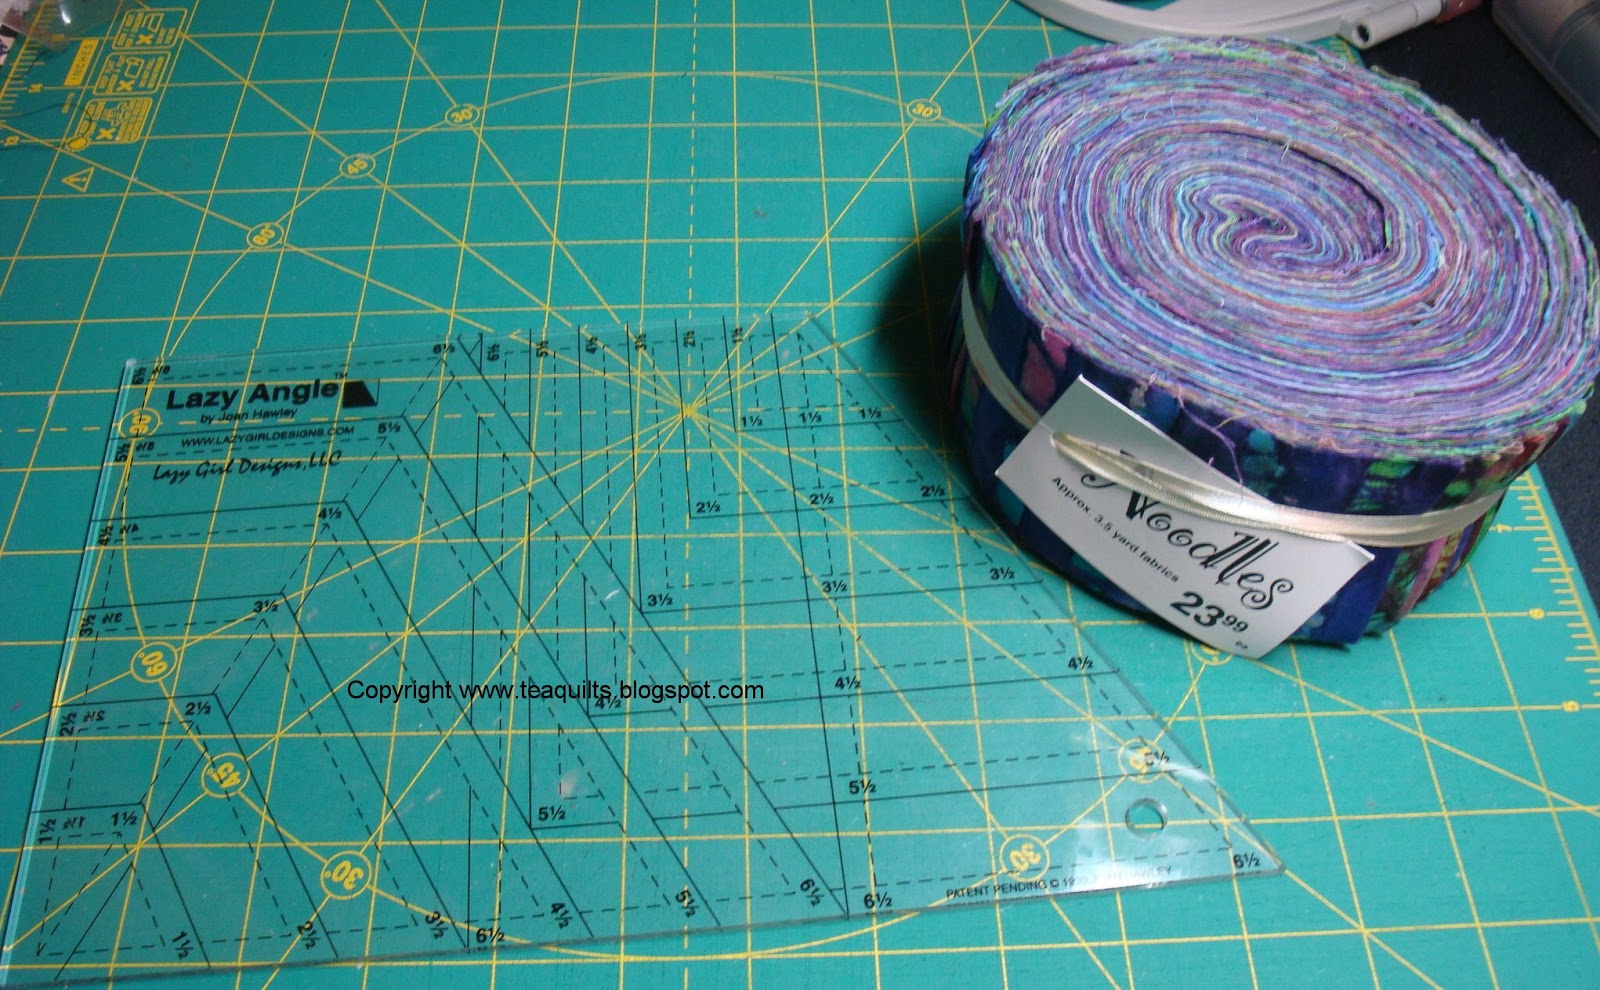
I just love the Lazy Angle ruler.  Imagine my shock and delirium when I found I could use another of my favorite rulers with it.  I started with a jelly roll I'd purchase from WalMart a very long time ago.  See the price, it was a bargain, having 50 strips in the package.  A few cons with this is that the fabric strips are repeated at least 3-5 times, the jelly roll I got wasn't cut straight causing a lot of bowing near the fold, and the jelly roll wasn't 2.5" as packages.  It was more like 2-3/8".  I had to make some modifications below in the instructions because of the poor cutting job.

 Unroll your jelly roll and look at how pretty they are.  Don't do this part too long though or your project will never get completed.

I wanted to make units like this using my Lazy Angle ruler. (Sorry about the glare.)

So, I sewed three strips together. I used 39 of the strips, making 13 stratas. Press seams as you wish.

Fold your stratas in half, right sides together. Cut 60 A and 60 A(reverse) units using the directions in  the ruler.  Because the stratas are folded, you will automatically create your reverse units. (NOTE: I'm left handed so these instructions will need to be reversed for right hand cutters. Square up one end then place your ruler as shown.  Please note that prior to cutting my units, I squared my stratas to 5.5" because the the poorly cut jelly roll I received.  You would probably want to use 6.5" to cut your units.

When cutting, you will rotate your ruler as you cut. PLEASE, follow the directions that came with the ruler. It's very easy to use the wrong line if you are not paying attention.

Aren't they pretty?  Here is an A unit and A-Reverse unit.

I laid them out so I could see my little space for the diamond. Now, a quick look through the stash to come up with a contract fabric. Found some and then started think "I really didn't wnat the center seam in the block.

This is how the unit should look.

I wanted one piece, so I got my 60 degree ruler to see if it would work. NO, THE 60 DEGREE RULER WILL NOT WORK as the angle is a little off.  So, I grabbed my Tri-Rec ruler and wa-la, it worked!

 So cut 60 triangles from the Tri-Recs ruler for this project. I love that the top flat portion lines up perfectly when piecing. Sew 60 units as shown below.

Sew two halves into a block. You will make a total of 30 blocks.

Square your blocks up. Mine were squared up to 10.5" square.  If you used 6.5" units, you will square your blocks to 12.5" square.  Lay blocks in a 5 x 6 setting, separating like fabrics if needed.  Sew blocks together into quilt top.

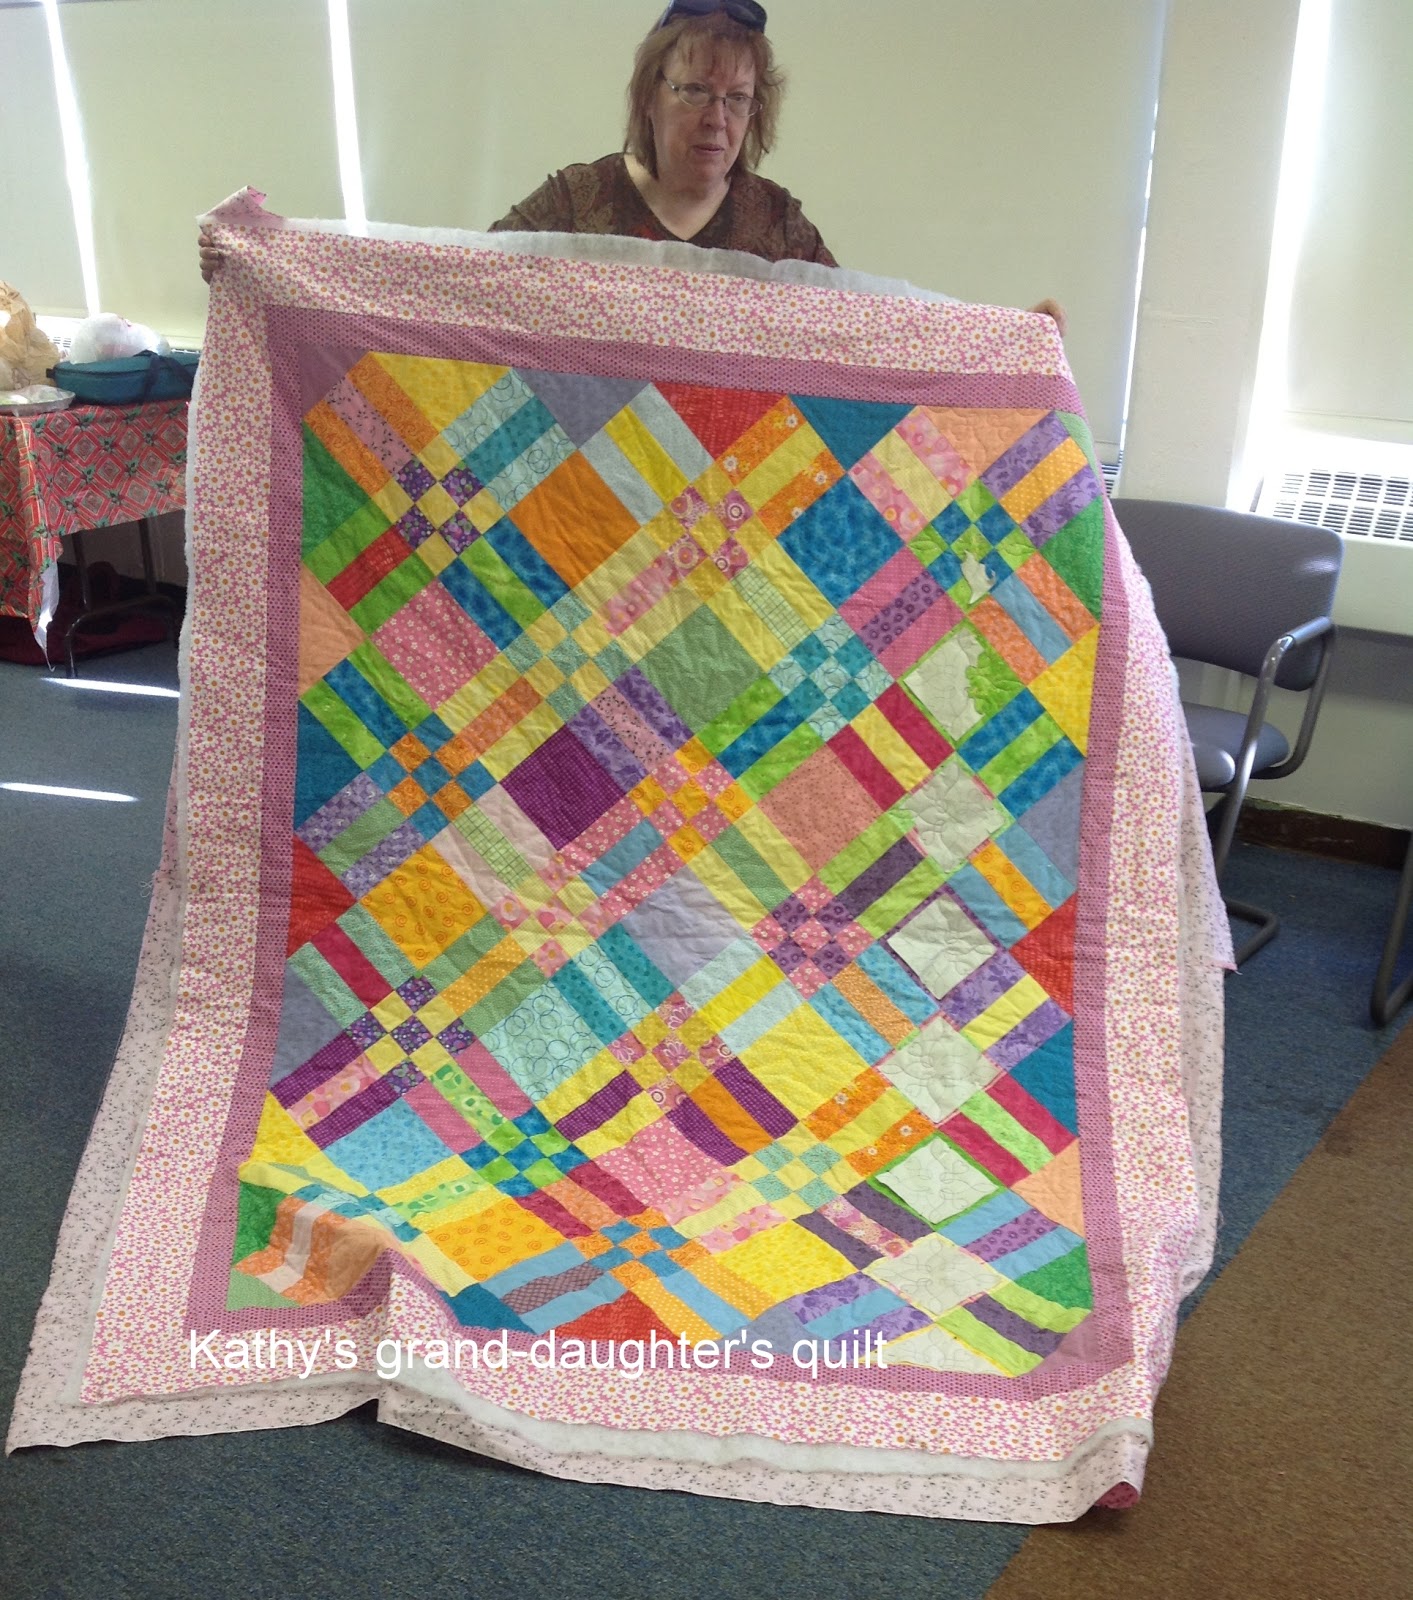
I do have a border on the quilt but forgot to take that photo.  I plan to baste is and start quilting it tomorrow..

-------------------------- Type-u-later, http://www.teaquilts.com